Showing posts with label leather. Show all posts

Sunday, June 5, 2016

     Last month, I shared a post on another blog for the first time! Crafting Con is a super fun site where folks let their inner geek shine through the creation of themed clothing for their kids that is NOT a costume, but a wearable garment that can ideally be played in, abused and adored by the recipient. For my debut on their site, I sewed for.. what else? Star Wars month! Here's my post brought back home:

      Our family and our girls are as Star Wars obsessed as the rest of the American youth (and public at large) at the moment, so I am very excited to be here on Star Wars month! Watching the movies with my kids has given me a whole new appreciation of the series. They are very into all of the characters and the plot line and play Star Wars all the time. It was so exciting to see the Force Awakens with them this winter and experience it for the first time all together.
     My youngest daughter, Althea, is an animal person (I mean that literally per her mind - she has a feline and canine persona that are both named, and that she converts to upon request of her sister, or at random. Also, she told me the other day that she is a magical creature and when she grows up her children will be various types of animals). Her favorite Star Wars characters are Chewbacca and the Ewoks. She does a great Chewie impersonation and has been speaking Ewok since watching Return of the Jedi last fall. "Boota, boota!" she calls as she runs through the house. So there was no contemplation necessary in realizing that I was going to make her an Ewok hoodie for this challenge.
My little critter
    I used a pattern from my trusty Ottobre 06/2013 which they called Frozen Meadow. It is a pattern for a raglan style, hooded, faux-fur coat, so I didn't alter anything except for adding ears. The outer coat fabric is this super soft, almost silky plush fur type fabric from JoAnns. It says it is machine washable, so that is a plus. I used a knit that I had which is a thick cotton for the cuffs, hem, trim along the zipper, hood edge casing and hood drawstring. The coat is fully lined, which makes it look very nice on the inside as well. The lining is a combination of old flannel baby blankets: a brown on white print with a touch of green that reminds me a bit of the Star Wars rebel symbol for the body and a green with green stars for the sleeves. I lined the hood with the same plush fabric that the outside is made from, so that she can get really cozy in there. The ears are stuffed with fleece scraps to make them stand up nicely and are hand sewed on to the hood.
Here she is showing off the lining of her Ewok hoodie

      So this makes a very nice and snuggly little layer for her to wear in spring and fall and on cool summer evenings, whenever she is feeling a little wild (aka always) - it serves well as a bear as well as an Ewok.....or dog......or wookie......or whatever mood she is in.
Snugged up in that fur-lined drawstring hood

     To make it more of an Ewok hoodie, I added a leather hood that she can wear over it. I love the way the Ewoks wear some minimalist clothing items that enhance their personality. Her hood is made from the last remnants of this truly amazing pair of rawhide bell bottoms that my mom had from the late 60's. So this hood is pieced together carefully and is held in place by the ear holes. There is also a chin strap that closes with an old leather button. This leather hood can come off so the fur coat can be worn on its own.
Boota!

     My older daughter is more in touch with her feminine side and wears dresses and skirts as often as she can get away with. She really identifies with the strong female characters in these movies and loves Rey and Leia and Padme. I had thought it would be fun to do some fabric dyeing and create Leia's forest look from Return of the Jedi, but Fern had ideas of her own. She was insistent that she wanted a BB8 inspired dress and went right to work drawing it for me. I love when they have a hand in the design process but this was the first time she actually created a physical image for me to work from, so I knew I had to roll with it (pun intended- ha).
Fern's drawing
Fern modeling
     I enjoy the challenge of turning a drawing into a physical item and discovering how a two dimensional shape translates into a sewing technique or a pattern style. Especially when the drawing was done by a 6 year old. According to her, the most important part of her image is the large white circle on the belly of the dress. I decided we would accomplish this with the use of a reverse applique. I found this great white and orange fabric (it's an upholstery fabric that is very smooth on the back side and doesn't seem capable of wrinkling) at a little store in my town that sells repurposed craft materials. All the tutorials I saw on reverse applique left the inside edge of the main fabric unfinished, but that didn't work for me with this project. I turned the edge in and sewed the inside of the circle first, then proceeded to attach the white circle (whose edge was serged) with a decorative stitch.
     Fern's image is clearly a dolman style dress with a mock turtleneck. I didn't find an orange of the right color in a knit fabric, so we went with this satiny material with minimal stretch from JoAnns. Not finding a pattern anywhere for a dolman utilizing a non-stretch fabric, I designed this myself tracing a shirt of hers. It wasn't quite big enough in the arms though (the shirt I was tracing was a knit of course), so I ended up adding a wide strip of the white fabric on each side of the bodice under the arm. I really like the way this worked out. I tucked it into a reverse box pleat and sewed it down for about three inches along the side of the bodice and then let it open up to create more room in the sleeve. I also included a zipper on the back of the dress so that she can get in and out. The bottom is a circle skirt, which always makes her smile when she twirls, and reflects back on the round shape of BB8. I played with the differential on my serger a little bit to give the sides of the mock turtle neck a touch of ruching.
Clockwise from top left: Underarm detail; neck ruching; zipper detail; reverse applique close up

       Her picture had wide sleeves tapering to thin sleeves very abruptly. I asked if we could change it to a short sleeve, but she really wanted the length. So we compromised with a set of armbands that she can wear with it. I like this compromise because the dress is better suited for the upcoming summer weather as a short sleeve dress. And she likes it because she can wear the armbands with this dress or with the Rey-inspired dress I made her a few months ago. The armbands have elastic at the top to keep them in place.
Posing with some cactus because she considers BB8 to be a desert droid; 
wearing her hat sideways so the flower is in the center like the "eye" in her drawing

      The final piece of her drawing is the helmet that she visualized wearing to represent BB8's head. I let her know that helmets are kind of beyond the scope of "inspired" clothing, but she really wanted something. My husband suggested a bonnet which I have been known to sew in the past, and she liked that idea. As I thought about it, I began to think that this helmet was not a bonnet, but a cloche hat. I scoured the internet for the proper pattern to use and ended up with the Penny hat from Elsewhen Millinery on Etsy. I was really happy with the pattern and love the way the hat turned out! The two fabrics that I used for the dress worked great for the hat, lining and hatband. I used a grosgrain ribbon that I had for trim on the outside, and the final detail was a black flower because Fern was insistent that the black "eye" from her picture be included. I made a zipper flower because a) I've been very inspired by all the zipper flowers I've seen on Pinterest for a while now and hadn't tried one yet b) I had a black zipper that I saved off a plastic bedding bag and a green zipper scrap that I had saved, and c) the mechanical aesthetic of the zippers appealed to me since we are drawing our inspiration from a droid. She loves it. It is fun to bask in the adoration of a child that isn't familiar with Pinterest and thinks I'm the most creative person in the world!
 Zipper flower up close

     It is also fun to see them have so much fun in clothes that I made them (and that they participated in creating!). We went to Smith College to run around in their amazing gardens and greenhouse for these pictures. I hope you enjoyed them as much as I have!

      Thanks for having me and may the force be with you!

Wednesday, May 14, 2014

Yee Haw!

   Fern's class had a fun time celebrating the week of the young child back in April with a different theme for each day of the week. On Wild West Wednesday they were encouraged to dress as cowboys and girls if they wished, or to at least wear some jeans. I love how young kids love to dress up; I hope mine always do and never feel self conscious about having a good time. 
  She usually won't wear jeans, but she does have a pair with a few sequins stitched down the front that she found acceptable enough for the occasion. She also has a great button down white shirt with some pretty details (both shirt and jeans are hand me downs) and a fun red hat that my folks bought her sister as a gift to wear on her rocking horse:

   So she had the basics covered. But I couldn't help creating one piece to top off the outfit. My mom had these amazing buckskin hip hugging bell bottoms in the 70's that she had handed down to me in the 90's. I had recenetly found them and they weren't in the greatest shape. I regret not having a picture to share, these pants were truly amazing in their prime. They were beyond repair in their current state however, so I was looking for a fun leather project with which to repurpose them. This seemed like the perfect opportunity!
   I used a pattern from another project that has yet to be blogged and made a quick vest. Leather is thrilling to me, because it seems like a regular sewing machine shouldn't be able to handle it, but it is actually no problem at all. (Just remember your leather needle) I love it. It demonstrates how many things are possible with a basic sturdy machine, like this Baby Lock that I am in love with. So here it is:

The seam down the middle of the back is the original side leg seam of the pants. I used a flat felled seam at the shoulders, then realized that was complete overkill on many levels. The leather doesn't fray, so it is unnecessary to hide the edge of the fabric; it just made extra work for my machine sewing through three layers of leather instead of two. So the side seams of the vest are just over lapped and the sewn with two rows of straight stitching in what I will call a mock flat felled seam. 
No leather cowgirl garment would be complete without some fringe, either, so I added a couple rows of that across the chest on each side of the front. Fringe is so fun to make. Fabric with zero fray opens up so many possibilities, and sews up so quick! No hemming, no real finishing. Angled seams and rounded edges are a breeze. Did I mention how much I love sewing leather? One of the girls may need a full length fringe skirt at some point. That would be a warm item to wear on Halloween!
And here she is! 
Stick em up!
 I love this curly little ham. 

We've got another good sport in our house:

Cheers!


Wednesday, February 26, 2014

  This week marks the end of Project Sewn; they are already on their Signature Style week. There has been some really fun and inspiring stuff going on over there. I tend to sew more for the kiddos, but it is fun to try to sew for myself as well. It's definitely harder though. The wrong fit can kill it (or require a lot more work) when I sew for myself. The girls are pretty easy to fit, not to mention aren't very picky about things that don't fit perfectly (if it is pretty).
    I had some success the other night though that I was very happy with. I had some very soft knit material that I wanted to use to make a copy of an old favorite pair of pants that I love. They are wide legged "skirt pants" (as named by Fern) that have a wide foldover waistband. They are total lounging pants but I dress them up sometimes with a nice top and shoes and feel they serve my purpose well. Comfortable and flattering equals perfect in my book. And sewing more with knits has been something I've been working on. I was using exclusively woven cotton until recently. My new machine has some new stitches to try out which is exciting. I've also been learning more of what I don't know through reading other folks notes online.
    So I laid my pants out onto some paper and tried to trace them and make some pattern pieces without cutting them up. The old ones are a little pill-y but definitely still have some life left in them as house pants.  It worked great! I made a pattern piece for the leg and cut two; assembling them by first stitiching the crotch seams then closing the leg inseam. I didn't use a stretch stitch for either of these as the pants don't really need to stretch much vertically. I just used a straight stitch, then played with all of the fun types of decorative zig-zagging I now can do on the inseam seam allowance to finish that seam. And I did a flat-felled seam for the crotch seams. Note to self: remember that while flat felled seams certainly do make a very sturdy and finished looking seam to use for that part of your pants, you ARE actually top stitching right down the front of your new pants whilst you do so, so don't be to lazy to match your thread! Realized that about 20 seconds too late (yes I am definitely too lazy to take the seam ripper to a seam that is already 1/3 sewn, especially when doing so would very likely leave behind some carnage on the remaining fabric, front and center). I made the waist band by measuring a large rectangle about 2 inches shy of the diameter of the waist of the pants as they were sewn thus far (my pants were 31 so I cut my waist band 29). The other dimension of my rectangle was whatever I had for fabric, probably 10-11 inches. I then sewed the short edges of the rectangle together, decreasing my waistband length further to about 28 -28 1/2 inches. Then folded it in half lengthwise and attached to the pants, easing in the larger waist and stretching the waistband as I went. Here, I sewed with a stretch stitch which is a new feature to me. Worked great. The waist looks great, isn't too tight as I feared and keeps the pants nice and secure but comfortable. Final step was to hem the legs by folding twice and sewing a fancy wide zig zag.


Finished them last night; wore them all day today while driving to and from school and the Y and catching a yoga class. And there they are, already wrinkled and dirty. (They may have started off not completely unwrinkled - some double negatives for you to sort out and find my guilt). No less comfortable then they started out though, let me tell ya. They do justice to my favorite old pair; and they make me want to make several more pairs now that I know my lil pattern works. Alas, I blew my fabric budget for the time being at JoAnn's the other day during a sale they were having. 

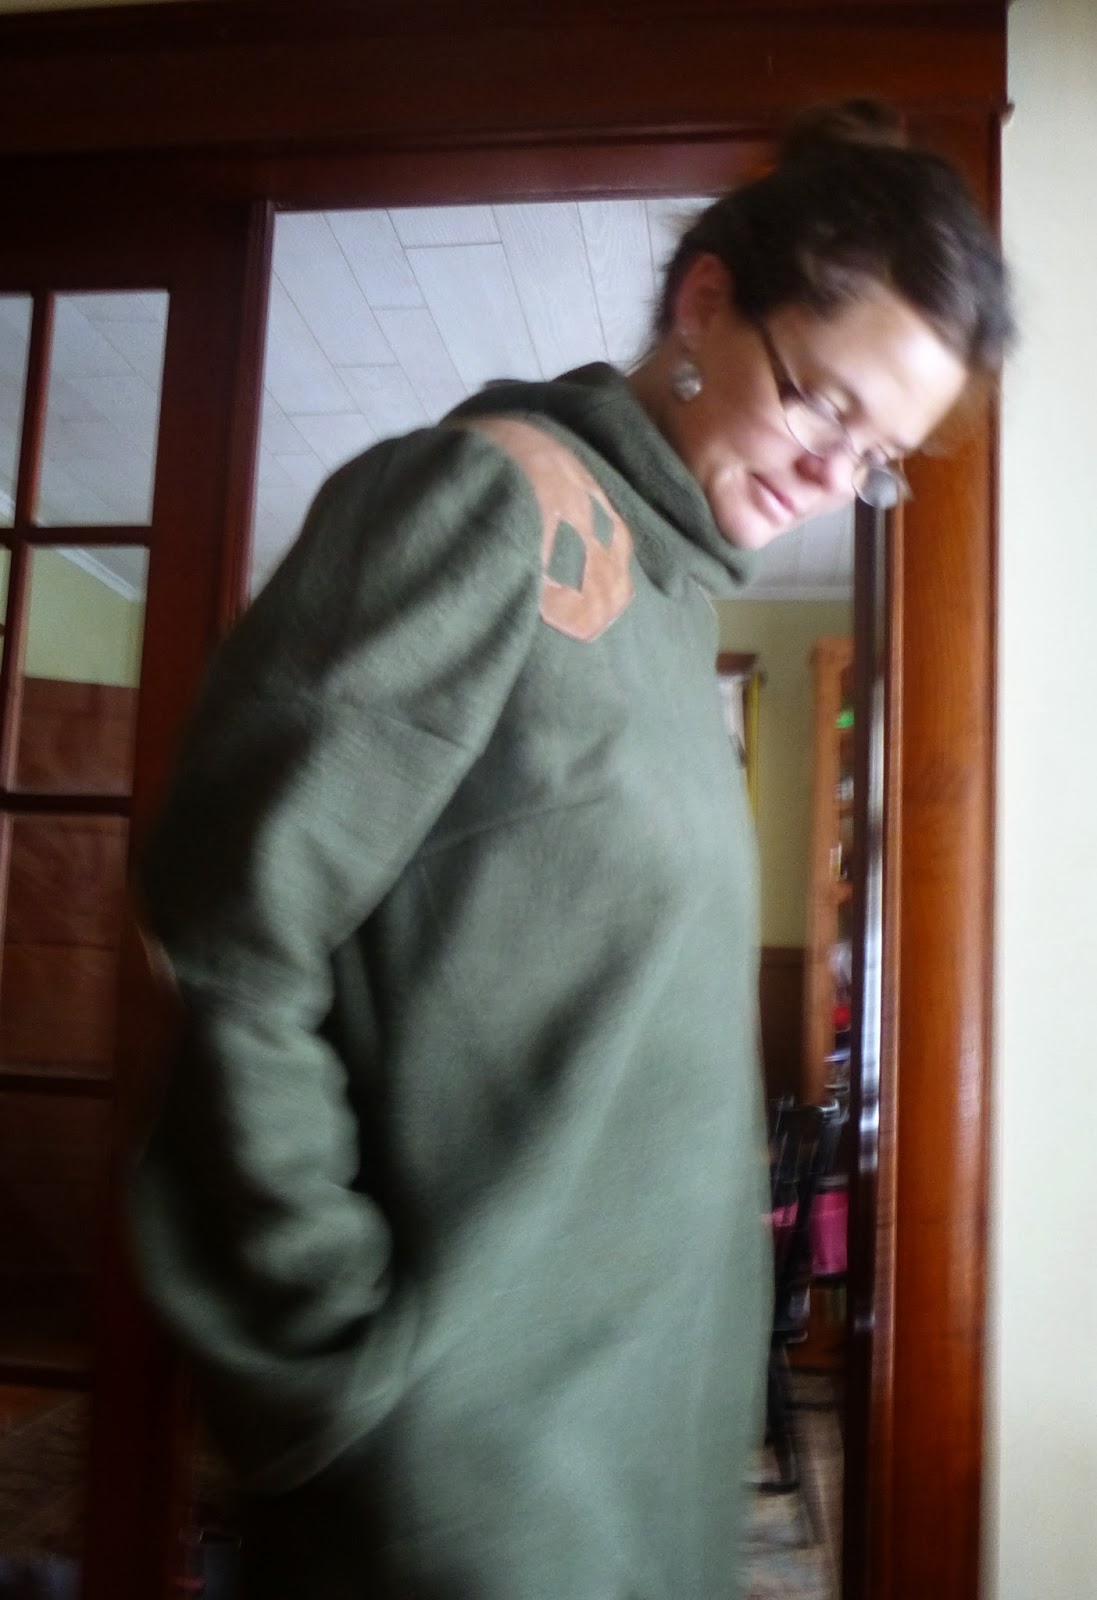
I wore these pants today with a fleece dress that I finished several weeks ago and intended to present along with a pair of boots that I love in the project sewn "if the shoe fits week". They had an entire challenge dedicated to sewing an outfit based on / inspired by a favorite pair of your shoes! I love that idea. I am going to keep that in my back pocket if I am feeling short of inspiration sometime in the future (the mental whiteboard is chock full at the moment though, I love that feeling of overflowing with ideas). Anyway, I had decided to sew this dress in November when I picked up fleece for a dress for everyone. For my adult version I used Collette's Laurel pattern. I have used it once before and liked the result. This was a very different experience since my fabric choice was so different (the first time I used a heavy linen). I added on seam pockets, an oversized turtle neck / cowl type collar, lengthened the sleeves and added some leather patches on the elbows and shoulders.
I spent a lot of time thinking about the leather patches. I was really excited to sew with leather, had my special needles in hand, couldn't wait to see how the new machine would handle it. But I didn't want to overdo it. I was originally thinking elbow and shoulders, but it seems like a lot. A lot of sweaters you see with shoulder patches just do one (to reinforce it where you will be laying your rifle I do believe), so I decided to go with one. Then I couldn't stop with a plain square patch, so I angled the corners and cut some diamond shapes out of it. Then I had some cute little diamond cut outs, so I sewed them onto the opposite shoulder in a negative image of the other. Then I made the elbow patches diamond shaped as well. I think it jazzes it up a bit, and I know that sewing with leather was exhilerating! It was so easy! Sally (I think that is going to be her name) the babylock went through it like butter!

Fern took the following pictures for me; I think they came out pleasantly blurred. 


 I also like how those pictures show the shape of the dress. The back darts are a key feature to making an otherwise very boxy dress seem a bit feminine. I originally made this dress longer; I think I just maxed out the fabric when I chose a length. It was very cozy but the static generated when I wore anything underneath it was intolerable. Even with a satin slip in between. I was concerned about this, but hemming about three inches off the bottom solved my issue. I know I will always want to have something underneath, so going to short wasn't an issue (if it's warm enough to wear without pants, it's probably too warm to wear it at all). I was surprised to see that hemming made such a drastic difference. I used the same fancy zig zag stitch to hem as I did on the pants. Love that stitch! Now that it is hemmed, I think I've decided that I like it. I have been wavering a lot, although I will admit that with the temperatures the way have been this winter, I have sure reached for it a lot and layered it on. I can also confirm that I receive extra requests for cuddles when I wear this. We are all getting some miles out of our fleece dresses!