Wednesday, July 20, 2016

"Skirting the Issue" with Simple Simon and Project Run and Play

        Here we are in the midst of the summer! What a great time of year. There are so many fun things I want to talk about, but first I want to share a meaningful project that is hosted by the lovely ladies at Simple Simon and Company (who also happen to be the main gals behind Project Run and Play; the sewing-for-kids equivalent of Project Runway that inspired me to blog about sewing) every year during the month of July.
       "Skirting the Issue" is a touching event they have begun, in which sewists from all around, connected by the internet, sew lovely and unique skirts to be donated to kids in the foster care system. It's a great way to help kids who have had a rough start in life feel special. You can read more about the event, and how to participate, here.

        So in honor of skirting the issue, I am going to talk about sewing a skirt with attached shorts. In my house, the general rule is that shorts are worn underneath skirts and dresses unless they are maxi length (and sometimes even then) because I have yet to see the girls wear one without flashing what is underneath at least a dozen times. Honestly, I have started wearing shorts under my own skirts that come above the knee as well! Chasing kids, bending over, wind blowing.... who knows what might happen and with some shorties or bloomers underneath it doesn't bother me.
         Having trunks attached makes it even easier to follow this rule, and you know that they will always coordinate. This can be accomplished very easily when making a skirt that has a waistband of some sort, i.e. an exposed elastic waist or a foldover yoga waistband. Basically, you sew your skirt, sew your trunks, baste together and add the waistband.
         To help illustrate, I sewed a skirt-with-trunks from some lovely, soft, knit fabric (both fabrics from a KnitPop Scrap Pack) and added an elastic waist. First, I decided what pattern to use for the shorts. This was an easy decision for me, because Baste & Gather has a FREE (hurray!) pattern for "summer shorties" by Selvage Designs.  This is a great pattern for sizes 12M-8 that creates snug shorts made from knit fabric; perfect for this application! Also, it uses a waistband to finish the top of the shorts, so you don't have to make any alterations to get a perfect fit. (If the shorts pattern you choose creates a waistband by folding down the top of the shorts, then you would need to cut the fabric about an inch and a half lower on top to get a good fit sewing it the way I am about to present).
      Using this pattern, I cut out two legs as mirror images of eachother,
then laid them right sides together and sewed the front and back crotch seams.

           I used a serger for this, but you could also use a zigzag stitch or stretch stitch on a regular sewing machine. Just make sure to use a stitch that will stretch for you.
          The next step is to line up the crotch seams on top of eachother, and sew the leg inseam. Now you have created shorts, and can hem them at this time as well.
           Knit fabric doesn't fray the way woven fabric does, so hemming is optional. I sometimes like to leave knits unhemmed, because no seam that I add will ever be as soft and stretchy as the fabric itself. Hemming does look more finished however, and also helps finish the bottom of my serged inseam, so I decided to hem these shorts. Again, make sure to use a stitch that will stretch when you do this! I folded my fabric about 1/2 inch up the inside of the leg (I only folded once instead of twice, because as I mentioned earlier, the knit won't fray) and zigzagged over it to hem my shorts.
           The next step is to create the skirt. I decided to make a simple, slightly gathered A-line skirt and made my own pattern piece for this.
This is my skirt pattern piece; the straight side on the left will be placed on the fold of the skirt fabric when cutting. I cut two of these skirt pieces. 

      I calculated the skirt pattern dimensions as follows: my shorts were ~9 inches tall at their highest point, so I decided to make the skirt 10 inches long.
       I wanted the waist to be slightly wider than the waist band would be. I was basing it off my daughter's measurements and she has a 21.5" waist. Since my pattern piece would be cut on the fold, and two pieces would be cut, the waist of the skirt would be almost 4 x the waistline of the pattern piece (actually just under 4 because of the seam allowances on the side seams). I made the top horizonatal line, aka the waist, 6.5" long. This will yield a finished waist of 26" minus about 1" for 1/4" seam allowance on the each side of both skirt pieces; so a 25" waist. Great. There really is a lot of freedom when calculating this measurement. I felt that this was a good size that would be large enough to be easy to slip on over the hips and bum, and not have so much fabric that it created a bulky waist seam at the end. I did curve the waist-line up slightly at the outer edge for a more circular waistline.
        I wanted the skirt to flare out in an A-line shape, so I drew a diagonal line from the edge of my waist out to about double that at 12" and free hand curved the bottom line up about an inch and a half. So my skirt should have a bit of freedom and twirl to it. You could also do a full or half circle skirt if you wanted an even twirlier version.
        I will take a moment to talk about skirt fabric right now. I had been thinking of using a soft, slinky knit whose content I am not totally sure of, but must be rayon spandex or cotton jersey or something. It was so soft and it was beautiful. But it occurred to me that without another fabric lining it, it was most likely going to be clinging to those trunks all day long. So instead I used this one, which again I am not 100% on content, but I believe to be a ponte de roma. Moral of the story: something a little more heavy and with a smoother finish will end up working better for the skirt here, so that it doesn't cling to the trunks. If you have a light, soft, probably grabby fabric that you are dying to use though, making the legs of your trunks super short will be a good idea. You could also insert a lining fabric in this skirt / short sandwich if you are so inclined.
       I cut two of these skirt pieces on the fold. You do not have to worry about mirror images here because the pieces are symmetrical, but do pay attention to if your print is directional or not (meaning is there a top / bottom to the print).
                I then laid the skirt pieces right sides together and sewed both sides of the skirt.
     
               Once the skirt was constructed, I sewed a gathering stitch along the top.  Also known as a basting stitch, this is a straight stitch set to the longest length between stitches that your machine offers; for me that is at 4. Leave long thread tails at the beginning and end of the stitch. Then, holding the bobbin thread, you can gather the skirt along the thread, distributing the gathers roughly evenly around the skirt.
            Next, I inserted the shorts into the skirt (right side facing out on both, or right side of shorts to wrong side of skirt), lined up the side seams of the skirt with the sides of the shorts, and pinned them together at the sides, front and back. This is a good time to adjust the gathers as needed to ensure the width of the skirt and shorts lines up well. You can pin more if you prefer.

                I then basted the skirt and shorts together with a narrow zigzag stitch, to make it easier to sew them both to the waistband without losing part of one or the other in the process. I made sure that my zig zag was lower than my gathering stitch, and then removed the gathering stitch with my seam ripper. I didn't want that straight stitch to interfere with the stretch of the skirt waist.
                Next, I created the waistband. I am a little bit obsessed with all the glitter elastic I have seen at JoAnn's recently. I had some of this silver on black elastic that I had used to make myself a belt earlier this summer. It seemed to be the perfect thing for this skirt once I decided to used the floral on black fabric for the skirt. I cut a piece about 21"; slightly smaller than my daughter's 21.5" waist, so that it will be snug enough to stay up well but not overly tight. I sewed the ends of the elastic together, right sides facing, then folded the ends out towards the side and topstitched them down to create less bulk.
                 The final step was to sew the waistband onto the skirt. I placed it along the top of the skirt/ shorts with right sides facing, and sewed it on. I could have used a zigzag stitch on my regular sewing machine but I decided to live on the edge (terrible pun intended) and serge it, keeping a super close eye on not letting the elastic go under the blade. If you cut this type of elastic along the long edge, it begins to unravel.  I did have to stretch the elastic a bit as I went, since the skirt / shorts were wider than the band. I made it all the way around without any casualties, and ended up with a lovely skirt!
               
Note that I did not hem the skirt itself. The drape is so nice without it, I didn't feel it needed it. I just had to carefully tie off those side seams. 

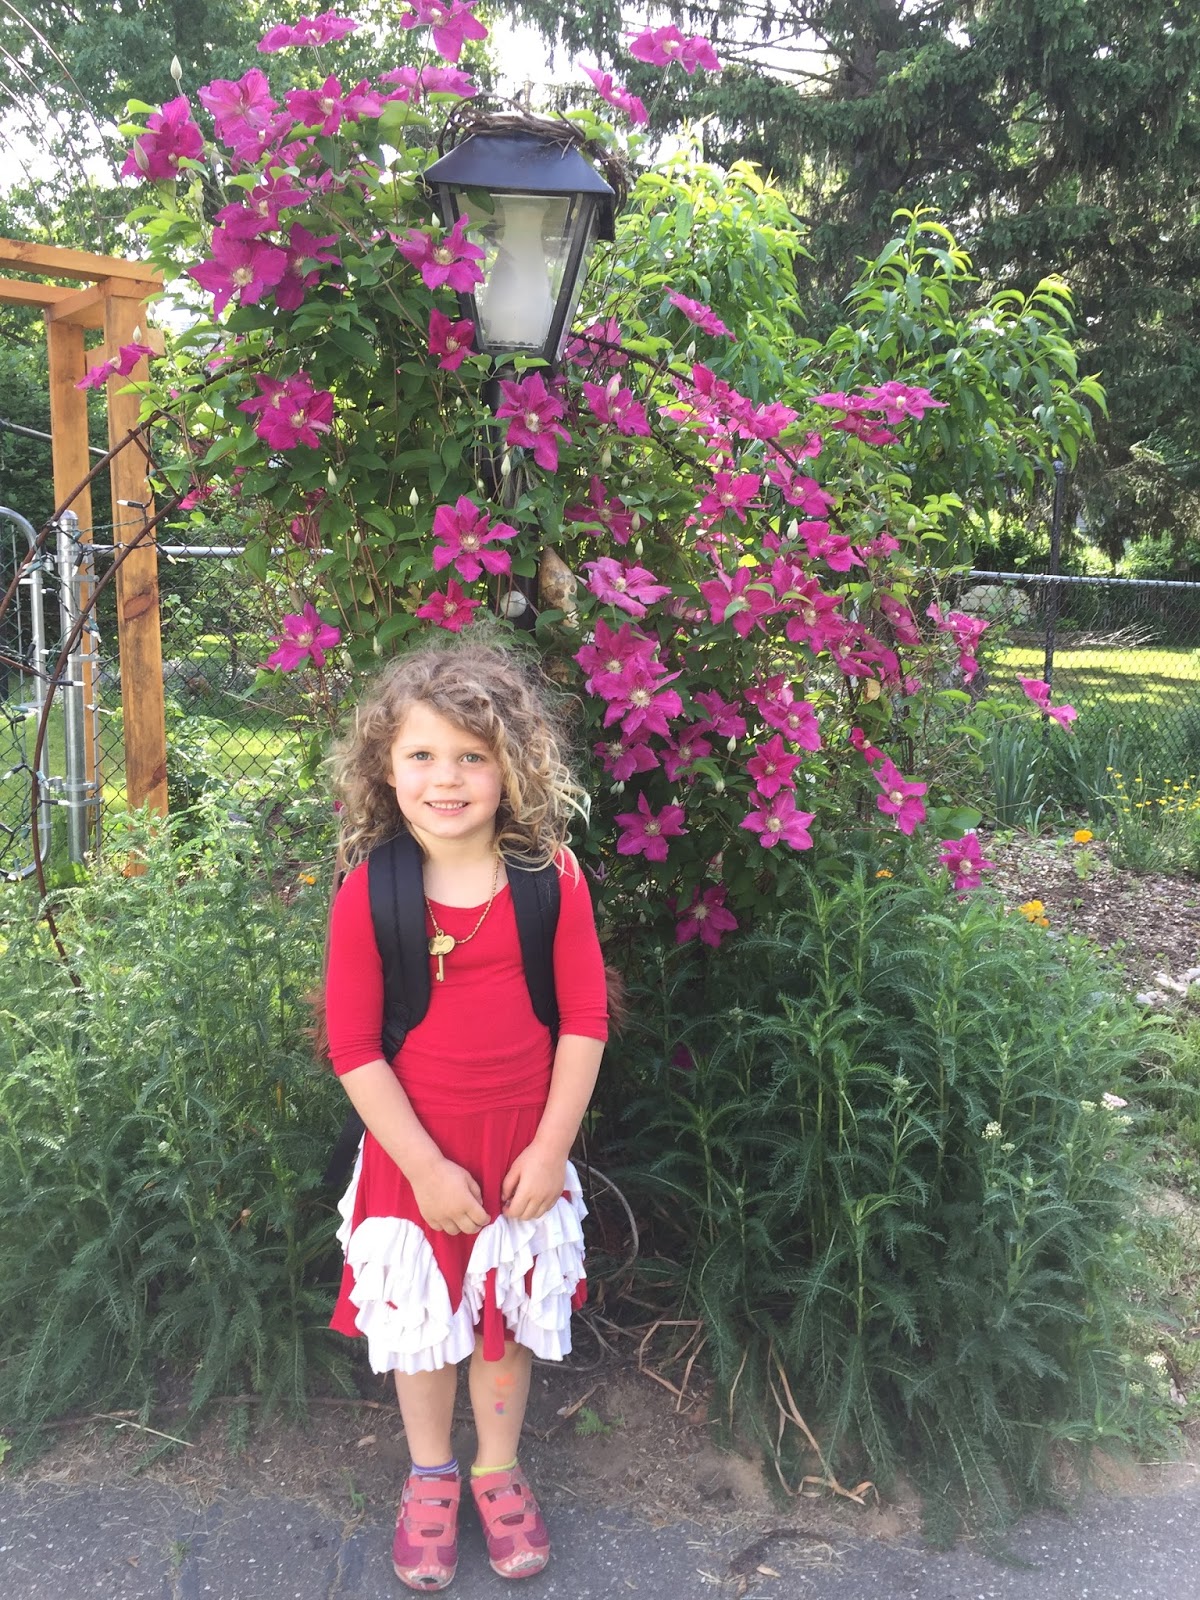
         A beautiful skirt, a playful skirt, a modest, cartwheel friendly child-sized skirt. Fern was more than happy to be my model. 


Over at Project Run and Play, they are sharing skirt inspiration all month long! Go check them out!

And thanks for stopping by!


Tuesday, July 19, 2016

Quilting for Love

          I have found a new way to keep my machine whirring. Along with clothes, I have now sewn 5 quilts in the past two years. Each one has certainly been a labor of love. This last one especially. A labor of love, to honor the love between two people that I love, and whose love I stem from.
        My parents celebrated their 40th wedding anniversary at the end of June, and I had been pondering how best to honor them for a long time. I considered trying to plan a surprise party, but surprising my mom with an event would be pretty near impossible to accomplish. This woman plans vacations and celebrations about a year and a half ahead of time. She is more organized than I can really even fathom and there was no way I could compete with that. So I decided to stick to what I am good at, and began brainstorming quilt patterns instead of invitation lists.
        A universal theme with our family is the beach, so I was thinking about shells and sealife, but nothing was feeling right. We have always spent a lot of family time together at the cape, and they recently bought a house there, so I started to focus on that. Something for the cape house.  We tend to be there for July 4, or perhaps the next weekend, so things are usually quite patriotic. Also, my parents were almost married on the bicentennial of the nation's birthday (but my grandmother made them switch it to the weekend before). So I settled on stars and stripes and red, white and blue. I found a flag print with hearts and stars on the red tag shelf at JoAnn's (and had a 50% off red tag coupon!) and snatched that up for the backing.
        I decided to have this be the only overtly flag printed fabric, and for the rest of my fabric choices, I used a lot of blue flowers (I couldn't find hydrangeas, but a lot of beautiful things that reminded me of them), some white with blue, some red, some that looked like fireworks and pieced them all together into a large star shape in the center, with several smaller stars and some stripes around the outside. I made some quilt binding out of some plain red fabric. 
Final product. Love it so much, especially that center star. So proud!

         This was the first time I did a pieced quilt like this and I loved it. I scoured pinterest for quilt stars, and used this one as my center star inspiration: 
                                        which you can read more about here. 
                  I at first tried to use the pythagorean theorem to figure out the length of the sides on all the triangles I drew, scaled up, but there were too many unknowns and too many triangles that didn't easily fit into a right triangle. So I made a life sized version of one quadrant; went all origami on it then cut it up. Then, I traced each piece onto some cardboard with 1/4" seam allowance added, and cut those out for my pattern pieces. It was quite a lot of work before even cutting any fabric, but I guess that is what quilting is all about. It's ridiculously time consuming every step of the way. Which some may not understand, but when you are thinking about how awesome it is going to turn out, and how much the receiver will appreciate it (especially if it is your parents; no one loves your work more than them, right?) and you are a bit of a math / art geek then it is actually a very pleasant way to spend your time. 
              Here's some close ups of the other stars


 And that center star again, because I love it:

And here is some fun quilting I did on a plainer navy fabric (free motion of course; I have decided it is the only way to go with quilting):

And some detail of some of the free motion quilting on one section of pretty blue floral:

        You can kind of see how I just did some zigzagging on the lighter blue floral next to this one; I hated it. I almost ripped it out, but I didn't have that kind of time on my hands. Tracing the print on the fabric and emphasizing the beautiful fabric is my favorite way to quilt right now. This was the first large (non-baby) quilt that I have done in free motion and it was infinitely easier to do than to quilt a large blanket without the free motion. It is however, still a little bit ridiculous and tricky considering I don't have a long arm machine. I am going to try to stick to baby blankets for the most part. And not even because I don't like doing it, but it just takes so. much. time. My want to sew pile of clothing projects grew so large while I worked on this that I probably won't finish it before I start on Halloween costumes. But I guess when you love to sew, the list always grows faster than your machine can go. Toying with ideas is half the fun. 
        Anyways, they loved it. It is queen sized, but I figured they would use it as a throw on the couch or something. They wanted to hang it up on the wall, which I was against, because I think they should be used. When I asked where she would have the space to hang a queen sized quilt, she brightened. Realizing it was a queen, she brought it inside and laid it out on her bed. And kept it there. 
Melts my heart. Almost as much as this:
Happy Summer!
Happy belated fourth of July!
Thanks for stopping by.

Thursday, July 7, 2016

Rash Guards

The swim fabric fun continues! 


        I actually have a confession to make before I talk about these shirts. I went on vacation with my family from the end of June through the beginning of July....and I brought two sewing machines with me. That's normal, right? We were there from the beginning of one weekend through the end of the next, and during the weekday stretch in the middle my husband and father came home and went to work and I stayed with my mom and kids. I knew during that stretch things would be quieter and I would have some free time.....so I thought I would bring my sewing machine and a project to work on. But when I thought about the things I wanted to make, I felt like I needed to have my serger as well. So I went for it. It was a very productive week - the first night we got there, I finished the dress I was making for myself for a fancy dinner my mom was planning (which allowed me to stop sewing and start packing much earlier in the day than I would have otherwise while we were trying to get on the road). I made myself 3 other items which I will share later on, and I made rashguards for the girls to sport on the beach! I also mended my brother's beach blanket. It may have set a dangerous precedent. 
      So back to the swim shirts. This is more of the fabric from my big Spandex House purchase this spring. I used that favorite Ottobre magazine once again and cut and sewed these up completely while the kids were sleeping at night. It is wonderful to trust how they size for these patterns, and to be able to just cut and sew without measuring them. When I finished, I thought they looked a little bit big, but when they put them on the fit was perfect. 

I cut the sleeves and bodice of this one out completely on the selvage which worked great; they both had that white edge to them. So her sleeves are a little longer. 
The sleeves and bodice of this one are hemmed with a double needle. That is one reason her sleeves are shorter. Also: This was just about the last bit of that rose fabric and also her arms are longer. The 3/4 length works well for this though.

      I made two of the same size and let them pick which shirt they liked in the morning. I love the way the fabrics coordinate with their bathing suits colorwise without matching completely. And I love how we are a well matched threesome on the beach!
See the book in the corner? Can you tell what it is?? We finally read the Rats of NIMH! I had been wanting to read that book with them forever but we have been working on a few long series' that are hard to step away from. 
We finished one of our Narnia books while on vacation, and didn't bring the next one. Then I found this at a bookstore we stopped at.....serendipity. 

Thanks for stopping by!

Thursday, June 30, 2016

Girls bathers, part 2

  I'm on a roll using up this swimsuit fabric. I have already posted the suits I made for myself and Althea.  Of course Fern got one too.
   I love seeing the girls in things that coordinate but aren't exactly the same. That is part of the beauty of buying a couple yards of different fabrics and mixing and matching them together in different ways.
      Fern's number one request was that she wanted her belly button to show when she wore her bathing suit. Her father heard this and bellowed (partly joking with the seriousness of his tone- but mostly not) "What?! Are you making her a bikini?!!"
     She loved this but didn't quite understand what he said, & began begging for me to make her a peony. I love the types of conversations that this type of confusion leads to with a child; the unraveling of the meaning of their words and subsequent giggles and clarifications.
      I was able to satisfy her appeal for a glimpse of bellybutton and also maintain a good deal of modesty, I believe. The bottom was the same underwear pattern from my Ottobre magazine that I used for the trunks of Althea's. For the top, I used the bodice from the alley cat romper by Lil Luxe Collection & added a high/ low skirt to it. I used the body of the alleycat as a base for this, but ended up cutting it off and removing about 5 inches of width from each side because it was creating too much bulk where it met the bodice.
    She and I are both happy with the result, and I think her father is ok with it as well (although he may be right to be worried about how much more she wanted a "peony" after he expressed his feelings against the idea). 
    Up next …a round of rash guards. 

Thanks for stopping by!

Sunday, June 26, 2016

Girls' bathers, part 1

   Of course I couldn't make a bathing suit for myself without putting all my new tricks to work on suits for the girls as well.
    I love red, white and blue on them all summer long. Between Memorial Day and the Fourth of July, it feels like we are always just a few weeks away from honoring the country in some way or another. And we can love America every day of the year right? (I hope I don't have to re-evaluate that comment in November, but I won't get into politics here.) In any case- picking out our own bathing suit fabric from Spandex house was way more fun then choosing from premade suits on a rack. 
      I gave them some options with their suits (bottoms like shorts, undies or skirts?; criss cross straps on top or tie around the neck?). When they choose design aspects, they always seem to feel invested and enjoy the finished garment more. Some features I decided myself. (I think two pieces are easier for bathrooming purposes & I don't like them to be showing too much skin.)
     Althea said she wanted a skirt and cross straps. I turned, where else?, to my trusty Ottobre 6/2013. I need to count how many patterns I have used out of that magazine-at least 10, and they never disappoint. There was an underwear pattern along with a camisole that worked perfectly for this. 

      For the bottom I used the underwear pattern, lined the entire front piece instead of just the crotch area & added a self drafted layered skirt (just two gathered rectangles).

      The pattern I used for the top had a full back, so I used two of the bottom front pieces and extended the straps of the top pieces several inches so I could cross them and attach to the back bodice bottom. I lined only the striped part of the top. 
       I used swim elastic in the leg holes, waist of the bottom and along the top edge of the top. It gives structure where it needs it. I used tips from the bombshell pattern when installing the swim elastic, but essentially followed the Ottobre patterns otherwise. 

       It worked great! It fits her so well and she loves it. She wore it all day the day I finished it & has already worn it for 3 beach days- score!
 Thanks for stopping by!

Monday, June 20, 2016

Sewing for Summer

       I have been really stretching myself in my sewing lately. Free motion quilting, serging up a storm,  and now.....bathing suits! I picked up the Bombshell sewing pattern by Closet Case Files along with several other patterns when I purchased a Perfect Pattern Parcel a couple years ago. It looks like the pattern parcel's are not being offered anymore, but it was a fun site that would sell bundles of patterns at discount prices while promoting indie pattern designers. They would also show lots of examples of these patterns being sewn for inspiration. The Bombshell was the pattern that I really wanted when I scored this parcel, but I think I knew it wasn't going to happen right away. I am so happy I finally tackled this!


      The pattern is awesome. Very easy to follow, and full of good tips for sewing bathing suits. This is the first bathing suit I have ever sewed, and it came out great.  Following along with the tutorial as well as all of her sewalong posts on her blog was a full sewing lesson. She even answered questions I posted to her blog within a day of my asking, even though my questions were written over a year after her original post. I have sewn suits for each of the girls since finishing this, and applied tips from this pattern to each of those projects.
 
  It is also super flattering. I really feel great when I put this bathing suit on. It helps that I chose this gorgeous red / orange rose on black print fabric from Spandex House to use for it. I also feel covered up enough while feeling sexy at the same time. I like the lower cut legs and the faux skirt front that provides a little more coverage in front without all the extra fabric of a full skirt hovering around you when you are in the water. I chose the maillot top option, and am happy about the cleavage coverage. I spend a lot of time in a bathing suit running after kids, playing with them and holding them in the water and I like to know my suit is going to stay in place.
Dave took these pictures for me, and he was running around yelling ridiculous things pretending to be a cheesy professional photographer. He had me laughing the whole time. He also took some borderline obscene pictures of me in the garden encouraging the cucs to climb. I guess that's what I get when I hand him the camera then mill about in a bathing suit. Love that guy. And my new suit!! Just in time for summer. 

Happy Solstice and thanks for stopping by!

Friday, June 17, 2016

Quick Upcycle

      Althea had her last day of preschool back at the beginning of the month. So it has been the two of us again as we wait for her big sister to finish up being a kindergartner.
Althea on her last day of preschool for the year

       Before school ended, she was supposed to bring in a white t-shirt to decorate. I kept forgetting about it, and all of a sudden one morning I realized that it was due that day. I thought I had one somewhere, but couldn't find it immediately and so decided it would be faster to make one than to keep searching.
      I took an adult long sleeve white shirt that had a logo near the top, and used the bottom of the shirt to make one for her. I traced a t-shirt that fit her and cut out a front and back (utilizing the existing hem of course) dolman style shirt so that I wouldn't have to sew sleeves. I stitched those two pieces together.  Then I cut the neck band off the original shirt, sewed it slightly smaller than the neckhole of her shirt and serged it on. Finally, I cut the wide cuffs from the bottom of the sleeves of the adult shirt and serged them on to the sleeves of this shirt and voila! The cuffs were the perfect width for her upper arm. The whole thing took about 20 minutes and I think the result is super cute! Comfy and slightly original t-shirt for her to cover with froggies!


Thanks for stopping by!