I had some success the other night though that I was very happy with. I had some very soft knit material that I wanted to use to make a copy of an old favorite pair of pants that I love. They are wide legged "skirt pants" (as named by Fern) that have a wide foldover waistband. They are total lounging pants but I dress them up sometimes with a nice top and shoes and feel they serve my purpose well. Comfortable and flattering equals perfect in my book. And sewing more with knits has been something I've been working on. I was using exclusively woven cotton until recently. My new machine has some new stitches to try out which is exciting. I've also been learning more of what I don't know through reading other folks notes online.
So I laid my pants out onto some paper and tried to trace them and make some pattern pieces without cutting them up. The old ones are a little pill-y but definitely still have some life left in them as house pants. It worked great! I made a pattern piece for the leg and cut two; assembling them by first stitiching the crotch seams then closing the leg inseam. I didn't use a stretch stitch for either of these as the pants don't really need to stretch much vertically. I just used a straight stitch, then played with all of the fun types of decorative zig-zagging I now can do on the inseam seam allowance to finish that seam. And I did a flat-felled seam for the crotch seams. Note to self: remember that while flat felled seams certainly do make a very sturdy and finished looking seam to use for that part of your pants, you ARE actually top stitching right down the front of your new pants whilst you do so, so don't be to lazy to match your thread! Realized that about 20 seconds too late (yes I am definitely too lazy to take the seam ripper to a seam that is already 1/3 sewn, especially when doing so would very likely leave behind some carnage on the remaining fabric, front and center). I made the waist band by measuring a large rectangle about 2 inches shy of the diameter of the waist of the pants as they were sewn thus far (my pants were 31 so I cut my waist band 29). The other dimension of my rectangle was whatever I had for fabric, probably 10-11 inches. I then sewed the short edges of the rectangle together, decreasing my waistband length further to about 28 -28 1/2 inches. Then folded it in half lengthwise and attached to the pants, easing in the larger waist and stretching the waistband as I went. Here, I sewed with a stretch stitch which is a new feature to me. Worked great. The waist looks great, isn't too tight as I feared and keeps the pants nice and secure but comfortable. Final step was to hem the legs by folding twice and sewing a fancy wide zig zag.

 Finished them last night; wore them all day today while driving to and from school and the Y and catching a yoga class. And there they are, already wrinkled and dirty. (They may have started off not completely unwrinkled - some double negatives for you to sort out and find my guilt). No less comfortable then they started out though, let me tell ya. They do justice to my favorite old pair; and they make me want to make several more pairs now that I know my lil pattern works. Alas, I blew my fabric budget for the time being at JoAnn's the other day during a sale they were having.
I wore these pants today with a fleece dress that I finished several weeks ago and intended to present along with a pair of boots that I love in the project sewn "if the shoe fits week". They had an entire challenge dedicated to sewing an outfit based on / inspired by a favorite pair of your shoes! I love that idea. I am going to keep that in my back pocket if I am feeling short of inspiration sometime in the future (the mental whiteboard is chock full at the moment though, I love that feeling of overflowing with ideas). Anyway, I had decided to sew this dress in November when I picked up fleece for a dress for everyone. For my adult version I used Collette's Laurel pattern. I have used it once before and liked the result. This was a very different experience since my fabric choice was so different (the first time I used a heavy linen). I added on seam pockets, an oversized turtle neck / cowl type collar, lengthened the sleeves and added some leather patches on the elbows and shoulders.


I spent a lot of time thinking about the leather patches. I was really excited to sew with leather, had my special needles in hand, couldn't wait to see how the new machine would handle it. But I didn't want to overdo it. I was originally thinking elbow and shoulders, but it seems like a lot. A lot of sweaters you see with shoulder patches just do one (to reinforce it where you will be laying your rifle I do believe), so I decided to go with one. Then I couldn't stop with a plain square patch, so I angled the corners and cut some diamond shapes out of it. Then I had some cute little diamond cut outs, so I sewed them onto the opposite shoulder in a negative image of the other. Then I made the elbow patches diamond shaped as well. I think it jazzes it up a bit, and I know that sewing with leather was exhilerating! It was so easy! Sally (I think that is going to be her name) the babylock went through it like butter!
Fern took the following pictures for me; I think they came out pleasantly blurred.


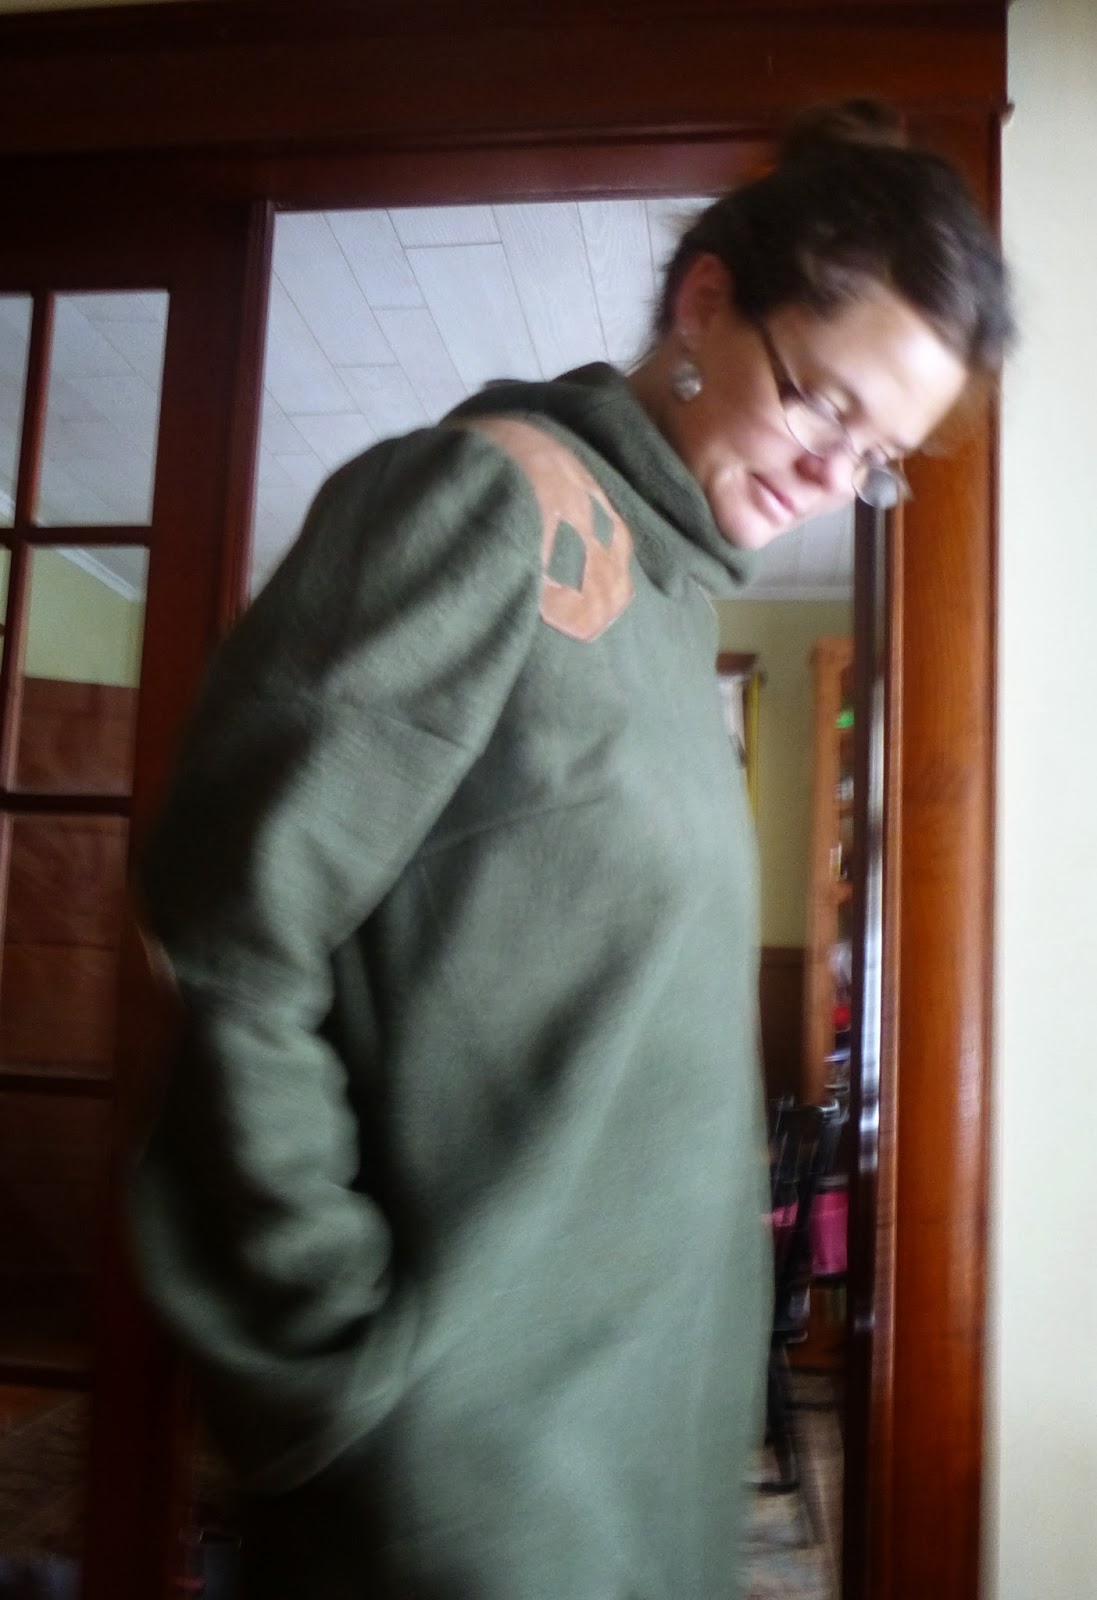
I also like how those pictures show the shape of the dress. The back darts are a key feature to making an otherwise very boxy dress seem a bit feminine. I originally made this dress longer; I think I just maxed out the fabric when I chose a length. It was very cozy but the static generated when I wore anything underneath it was intolerable. Even with a satin slip in between. I was concerned about this, but hemming about three inches off the bottom solved my issue. I know I will always want to have something underneath, so going to short wasn't an issue (if it's warm enough to wear without pants, it's probably too warm to wear it at all). I was surprised to see that hemming made such a drastic difference. I used the same fancy zig zag stitch to hem as I did on the pants. Love that stitch! Now that it is hemmed, I think I've decided that I like it. I have been wavering a lot, although I will admit that with the temperatures the way have been this winter, I have sure reached for it a lot and layered it on. I can also confirm that I receive extra requests for cuddles when I wear this. We are all getting some miles out of our fleece dresses!


